
LIFE: HONEY, I'M HOME!

My family and I recently moved from Abu Dhabi to Dubai. For us it was quite a big step to make, something that came as a surprise to many. I was both born and raised in Abu Dhabi. I lived there (I still can’t believe I’m referring to it as ‘there' now) my whole life. I went to school there. I made friendships there. I met my ex-husband there. I fell in love there. I got married there. Hamza and Layla were born there.
I’m not going to go into the hows and whys of making this decision. I am however, going to go into the process of actually moving and how overwhelming it was. Moving is stressful. I’ve moved twice back in Abu Dhabi, and the move to Dubai was my third. There is so much to account for. Long months of planning, and longer months of waiting, crazy amounts of payments and the actual packing and unpacking of everything. First, you have to make sure you secure yourself. So, I had to find a good, stable job in Dubai, and once I was employed, I began the search for the right school for the children. I’m sure every parent understands the stress of finding the perfect school for your child. Once we settled on the school, and secured their spots, the search for a house began with the idea that it should be in close proximity to the school. The thinking was that it is the practical and convenient thing to do, making drop-offs and pick-ups easier, especially during the rush hour. The house hunting took a little longer, but eventually, I found the house of my dreams. The house I could envision my kids growing up in, and after some pricing negotiations, I went for it.
Now, the waiting begins. We had to wait for bank approvals, we had to wait for assessments, we had to wait to exchange contracts, along with confirmation of when we can actually start moving to the house. We were basically living in limbo for at least 2 months, should we start packing? Should we, maybe, half-pack? Do we book a moving company? No, not yet. Can we start working on the new house (it needed a lot of work)? No, not yet. Disaster, really. September was looming, first day of schools was upon us, and we were yet to get confirmation and we were starting to slightly panic.
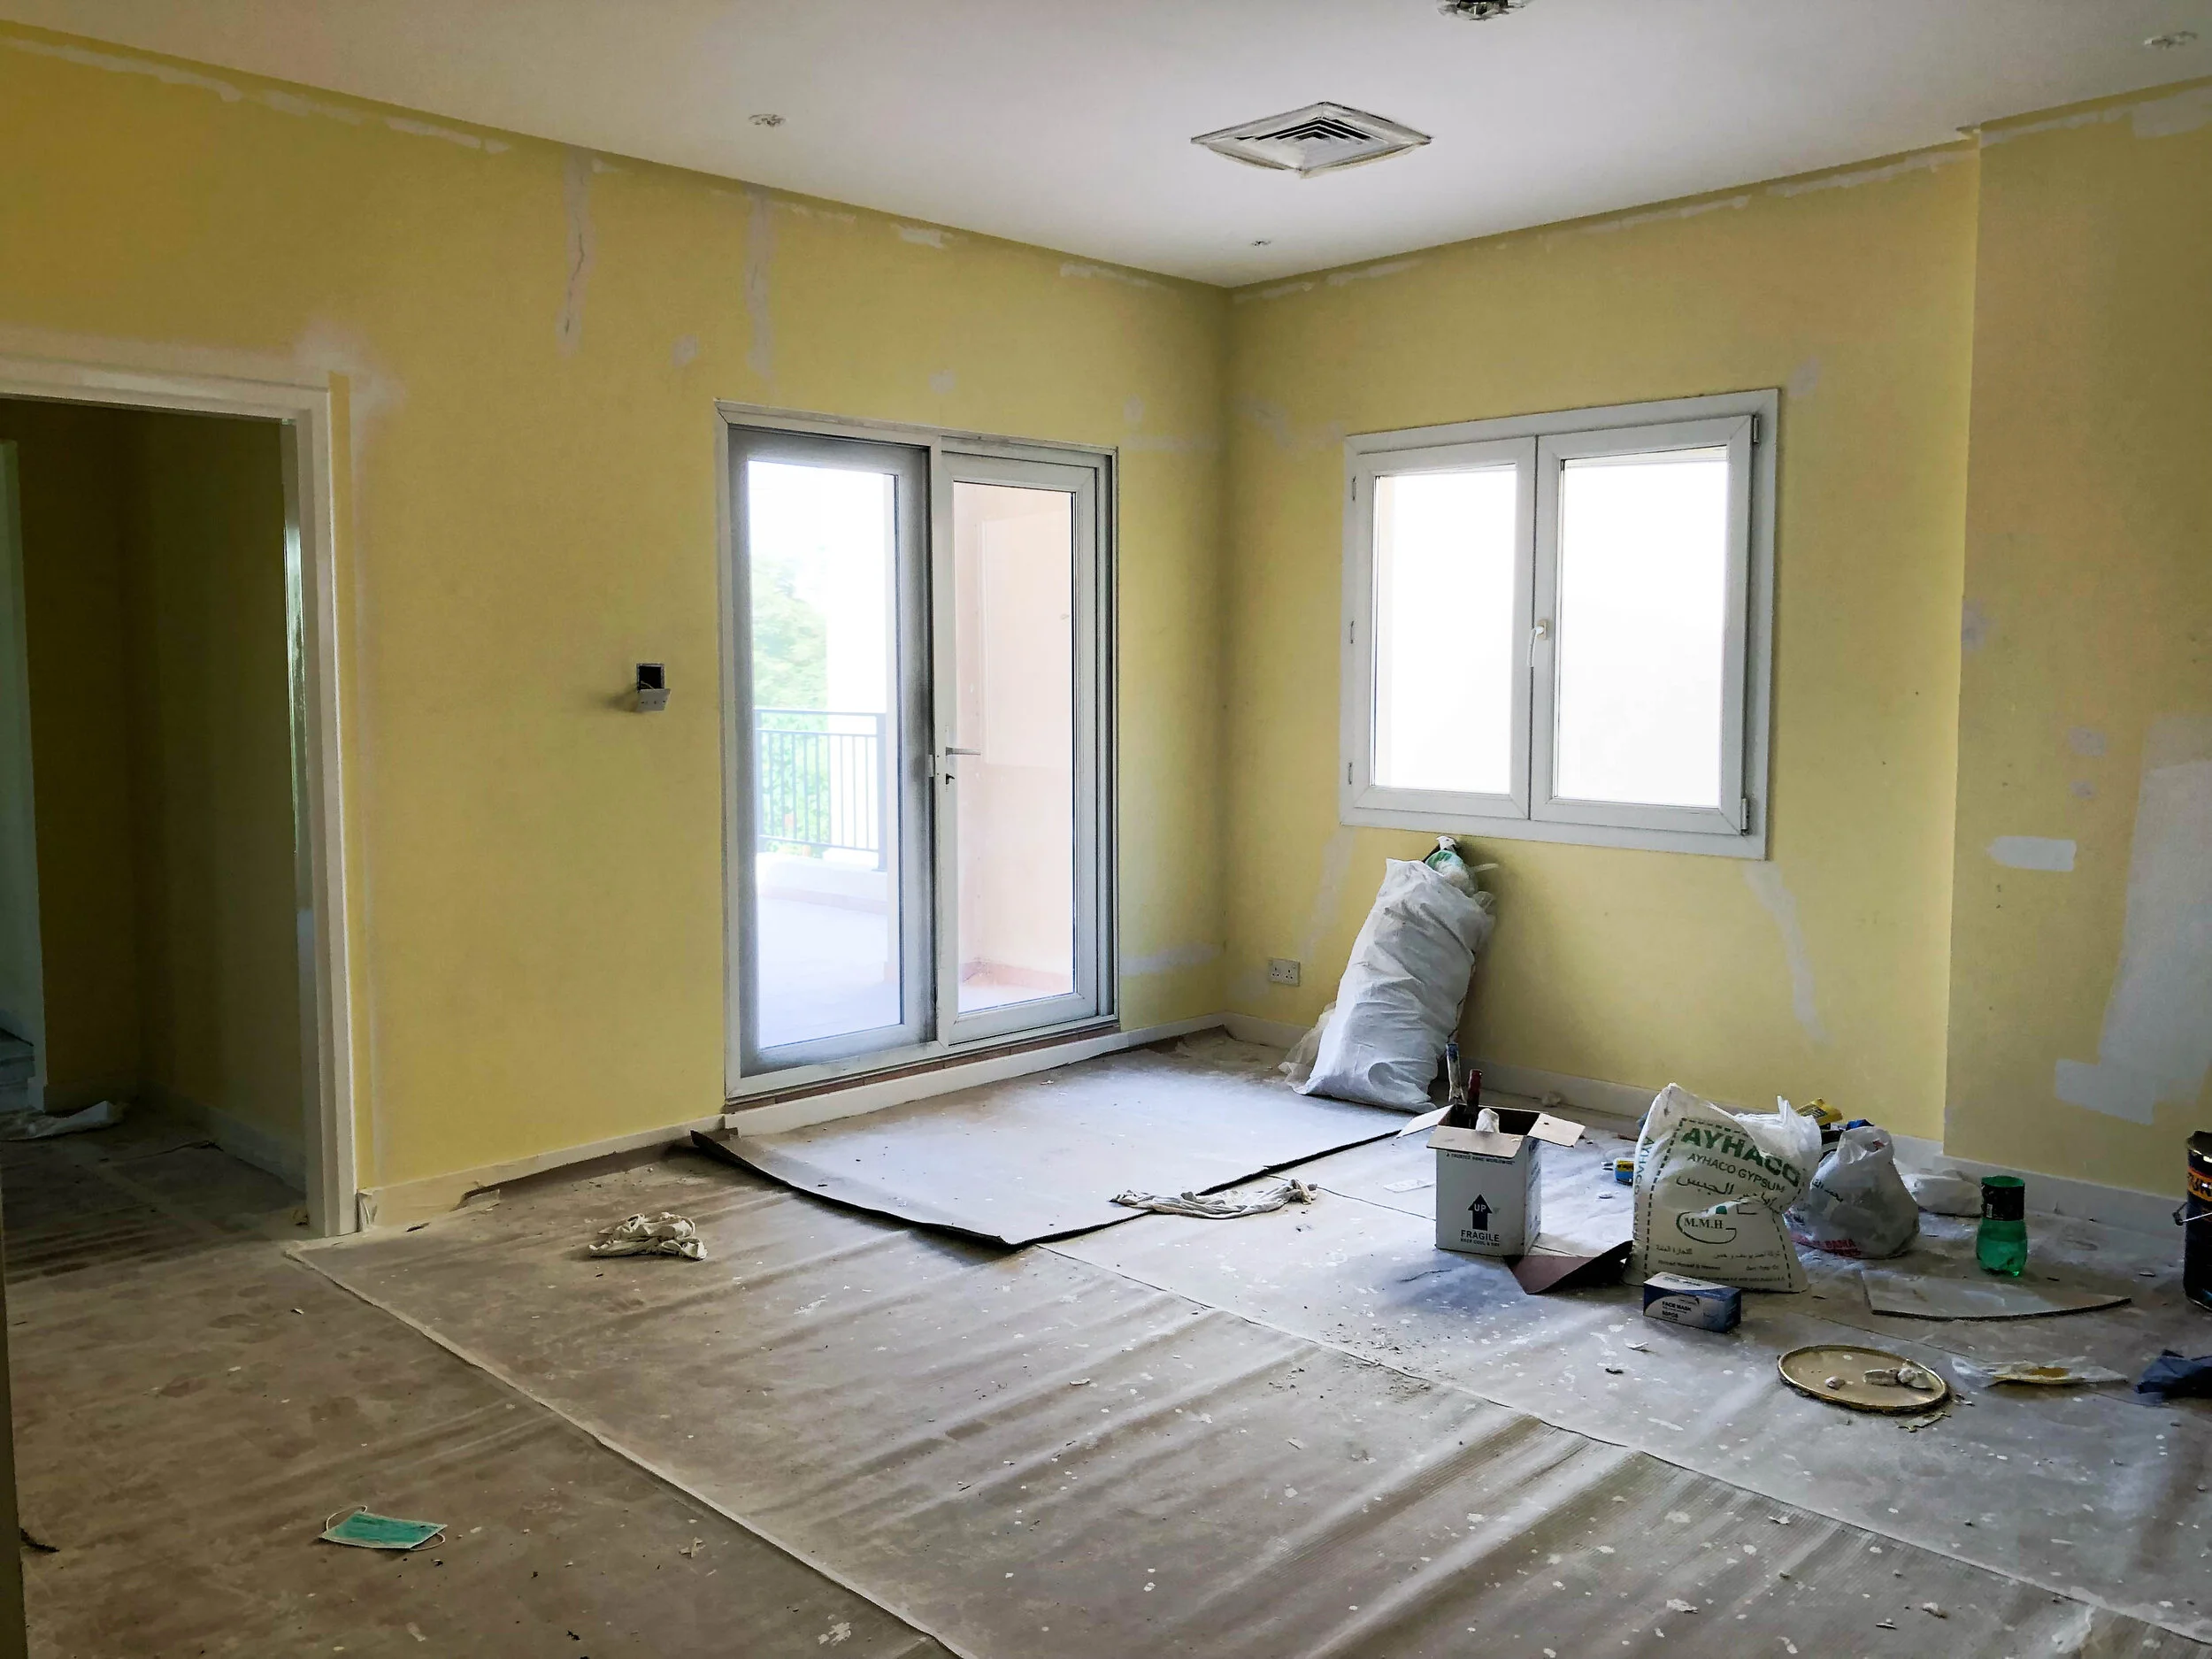
Finally, last week of August, we were good to go! So I started working, and I started working fast. I had so much to do! The house I fell in love with was old and beaten, but it was quaint and beautiful and warm and, honestly, I didn’t want to go for a shiny new house. But this also meant…lots of work needed to be done! Here’s the fun part. By fun, I mean, pull my hair out, stressful, crying, emotional wreck kind of fun!
The walls of the whole house were yellow. Yellow! Why would anyone paint their walls yellow? The floor tiles were red. Yes, red (Please see all images below for reference). I couldn’t live in a house with red tiles and yellow walls, so first thing we needed to do? Rip out all the tiles (and of course, I’m not an expert here, so not even sure ‘rip out’ is the right term, but you get the gist). It was a long and painful process. The dust, the dirt, the sounds. We had one week to do it before schools start. ONE WEEK. Ripping out the tiles of the entire house is a process that usually takes 2-3 weeks…maybe more (again, no expert). I made them start upstairs, that’s the priority, at least get the upstairs ready so I can prepare the bedrooms. In the meantime, I went looking for new tiles for the house. I opted to go for parquet for the upstairs living quarters and bedrooms, and porcelain tiles for downstairs and kitchen. Although, now, in retrospect, I wish I covered the whole house in parquet.
Then, step 2, was paint everything white. I mean everything. Every wall, every corner, every door, every cupboard, every drawer, the ceilings, the windows, the staircase, all of it, in white. Another long process, but again, made them start upstairs.
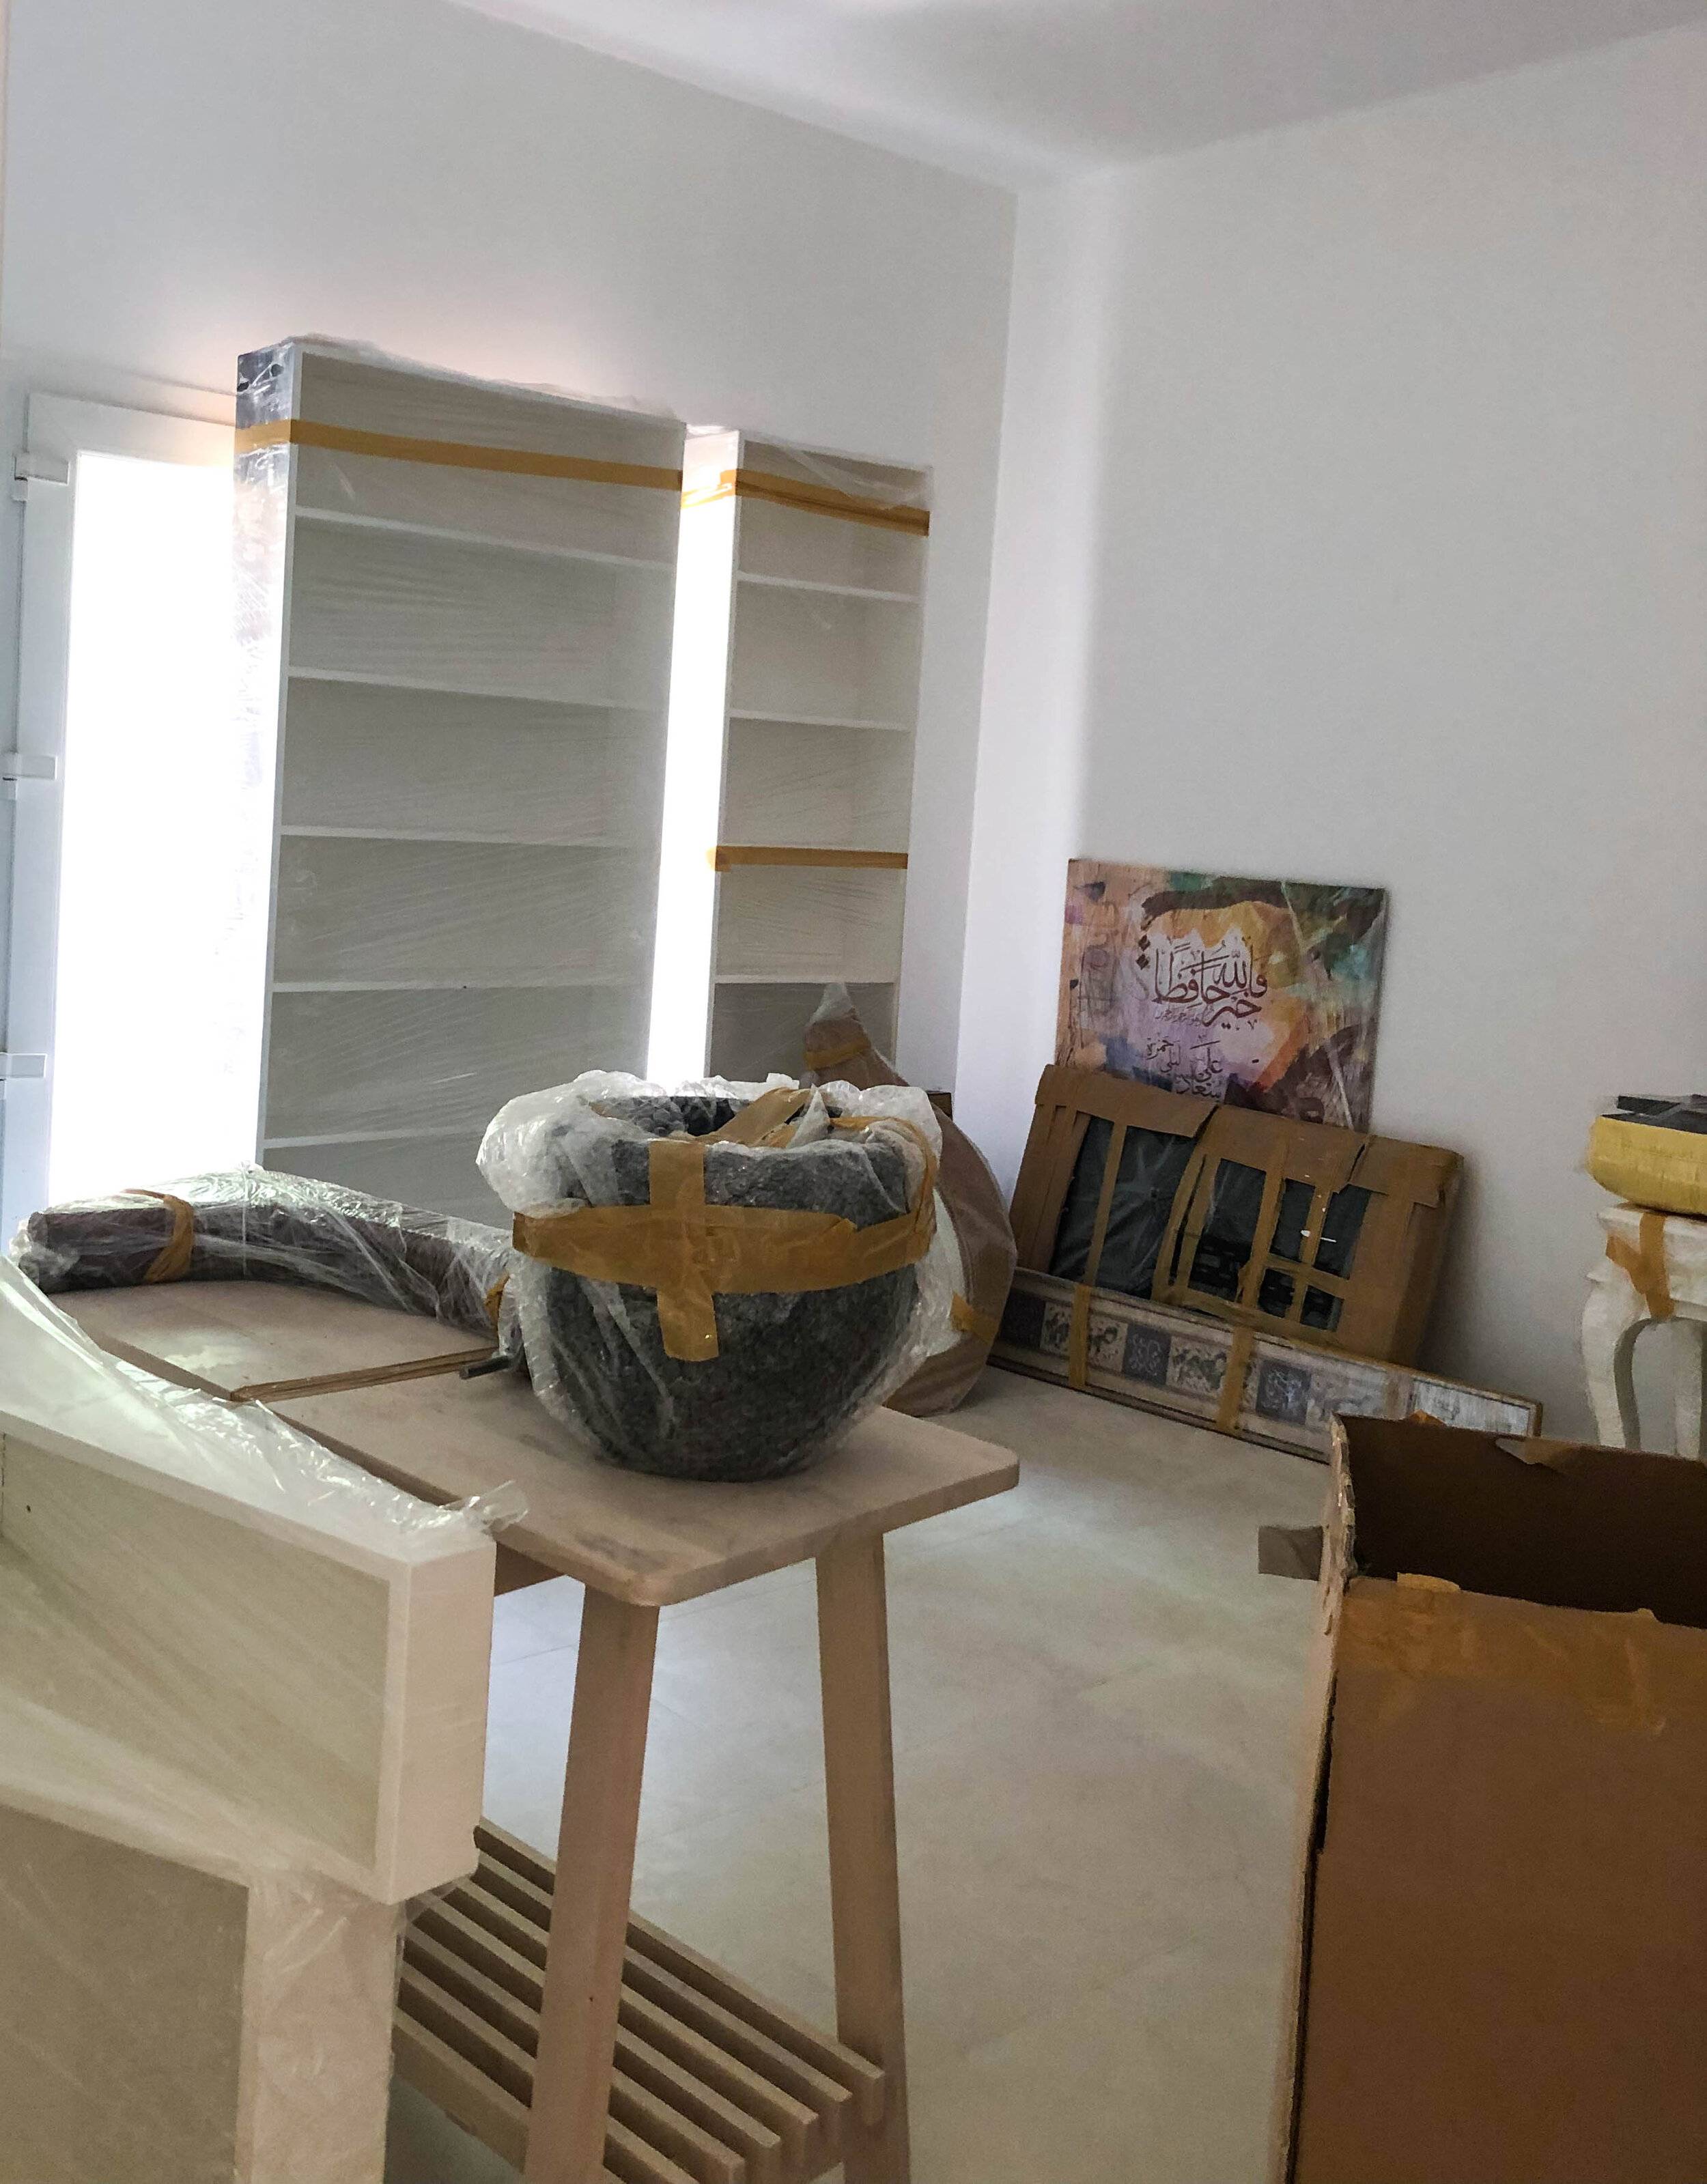
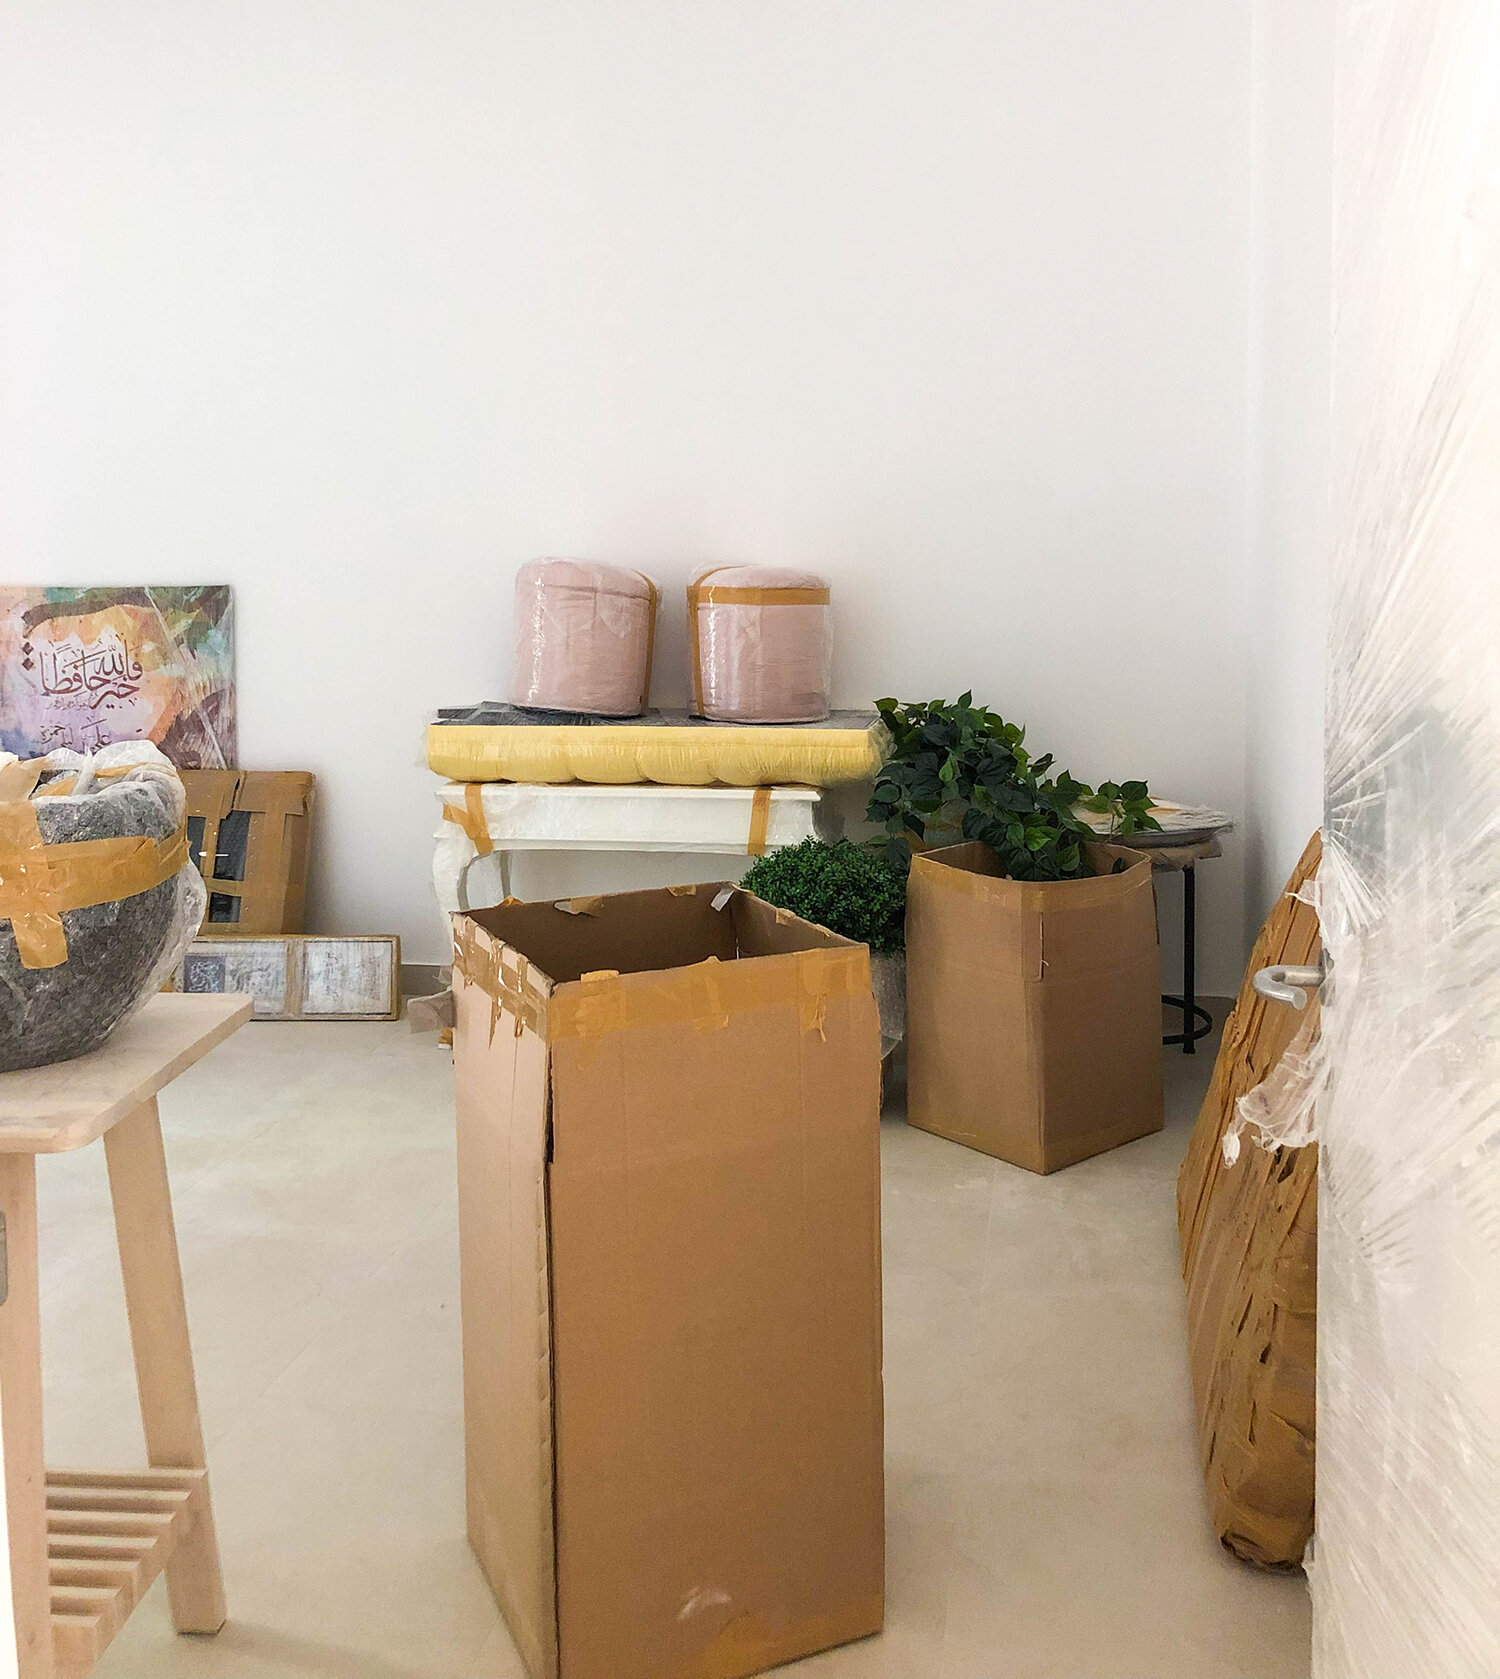
I hired a moving company to pack and move all our stuff from one city to another, but I couldn’t unpack anything until the house was ready. I still didn’t know where I wanted everything to go. It was mental. You can maybe tell from the pictures, everything stayed in boxes, furniture wrapped up, it was chaos. I then started looking for help. I needed help to expedite things, because with work, and kids starting school, I needed to get things done quickly and I had neither the time or resources. So, with a little research, I found this amazing, wonderful human being, who I consider a friend now, Valentina from KUKY design, a super affordable online design service, to help me bring my vision of the house to life.


I started with a bunch of Pinterest boards and a theme - Scandinavian. I knew that was the style I wanted, but I had to work around some of my old furniture to make that happen. We went room by room, again, starting upstairs, I talked to her at length about what I wanted to do with each room, and she presented me with the layout then went sourcing the different elements required to make it happen. I used most of my old furniture, but based on the new theme we ended up refreshing a lot of it!
LIVING ROOM:
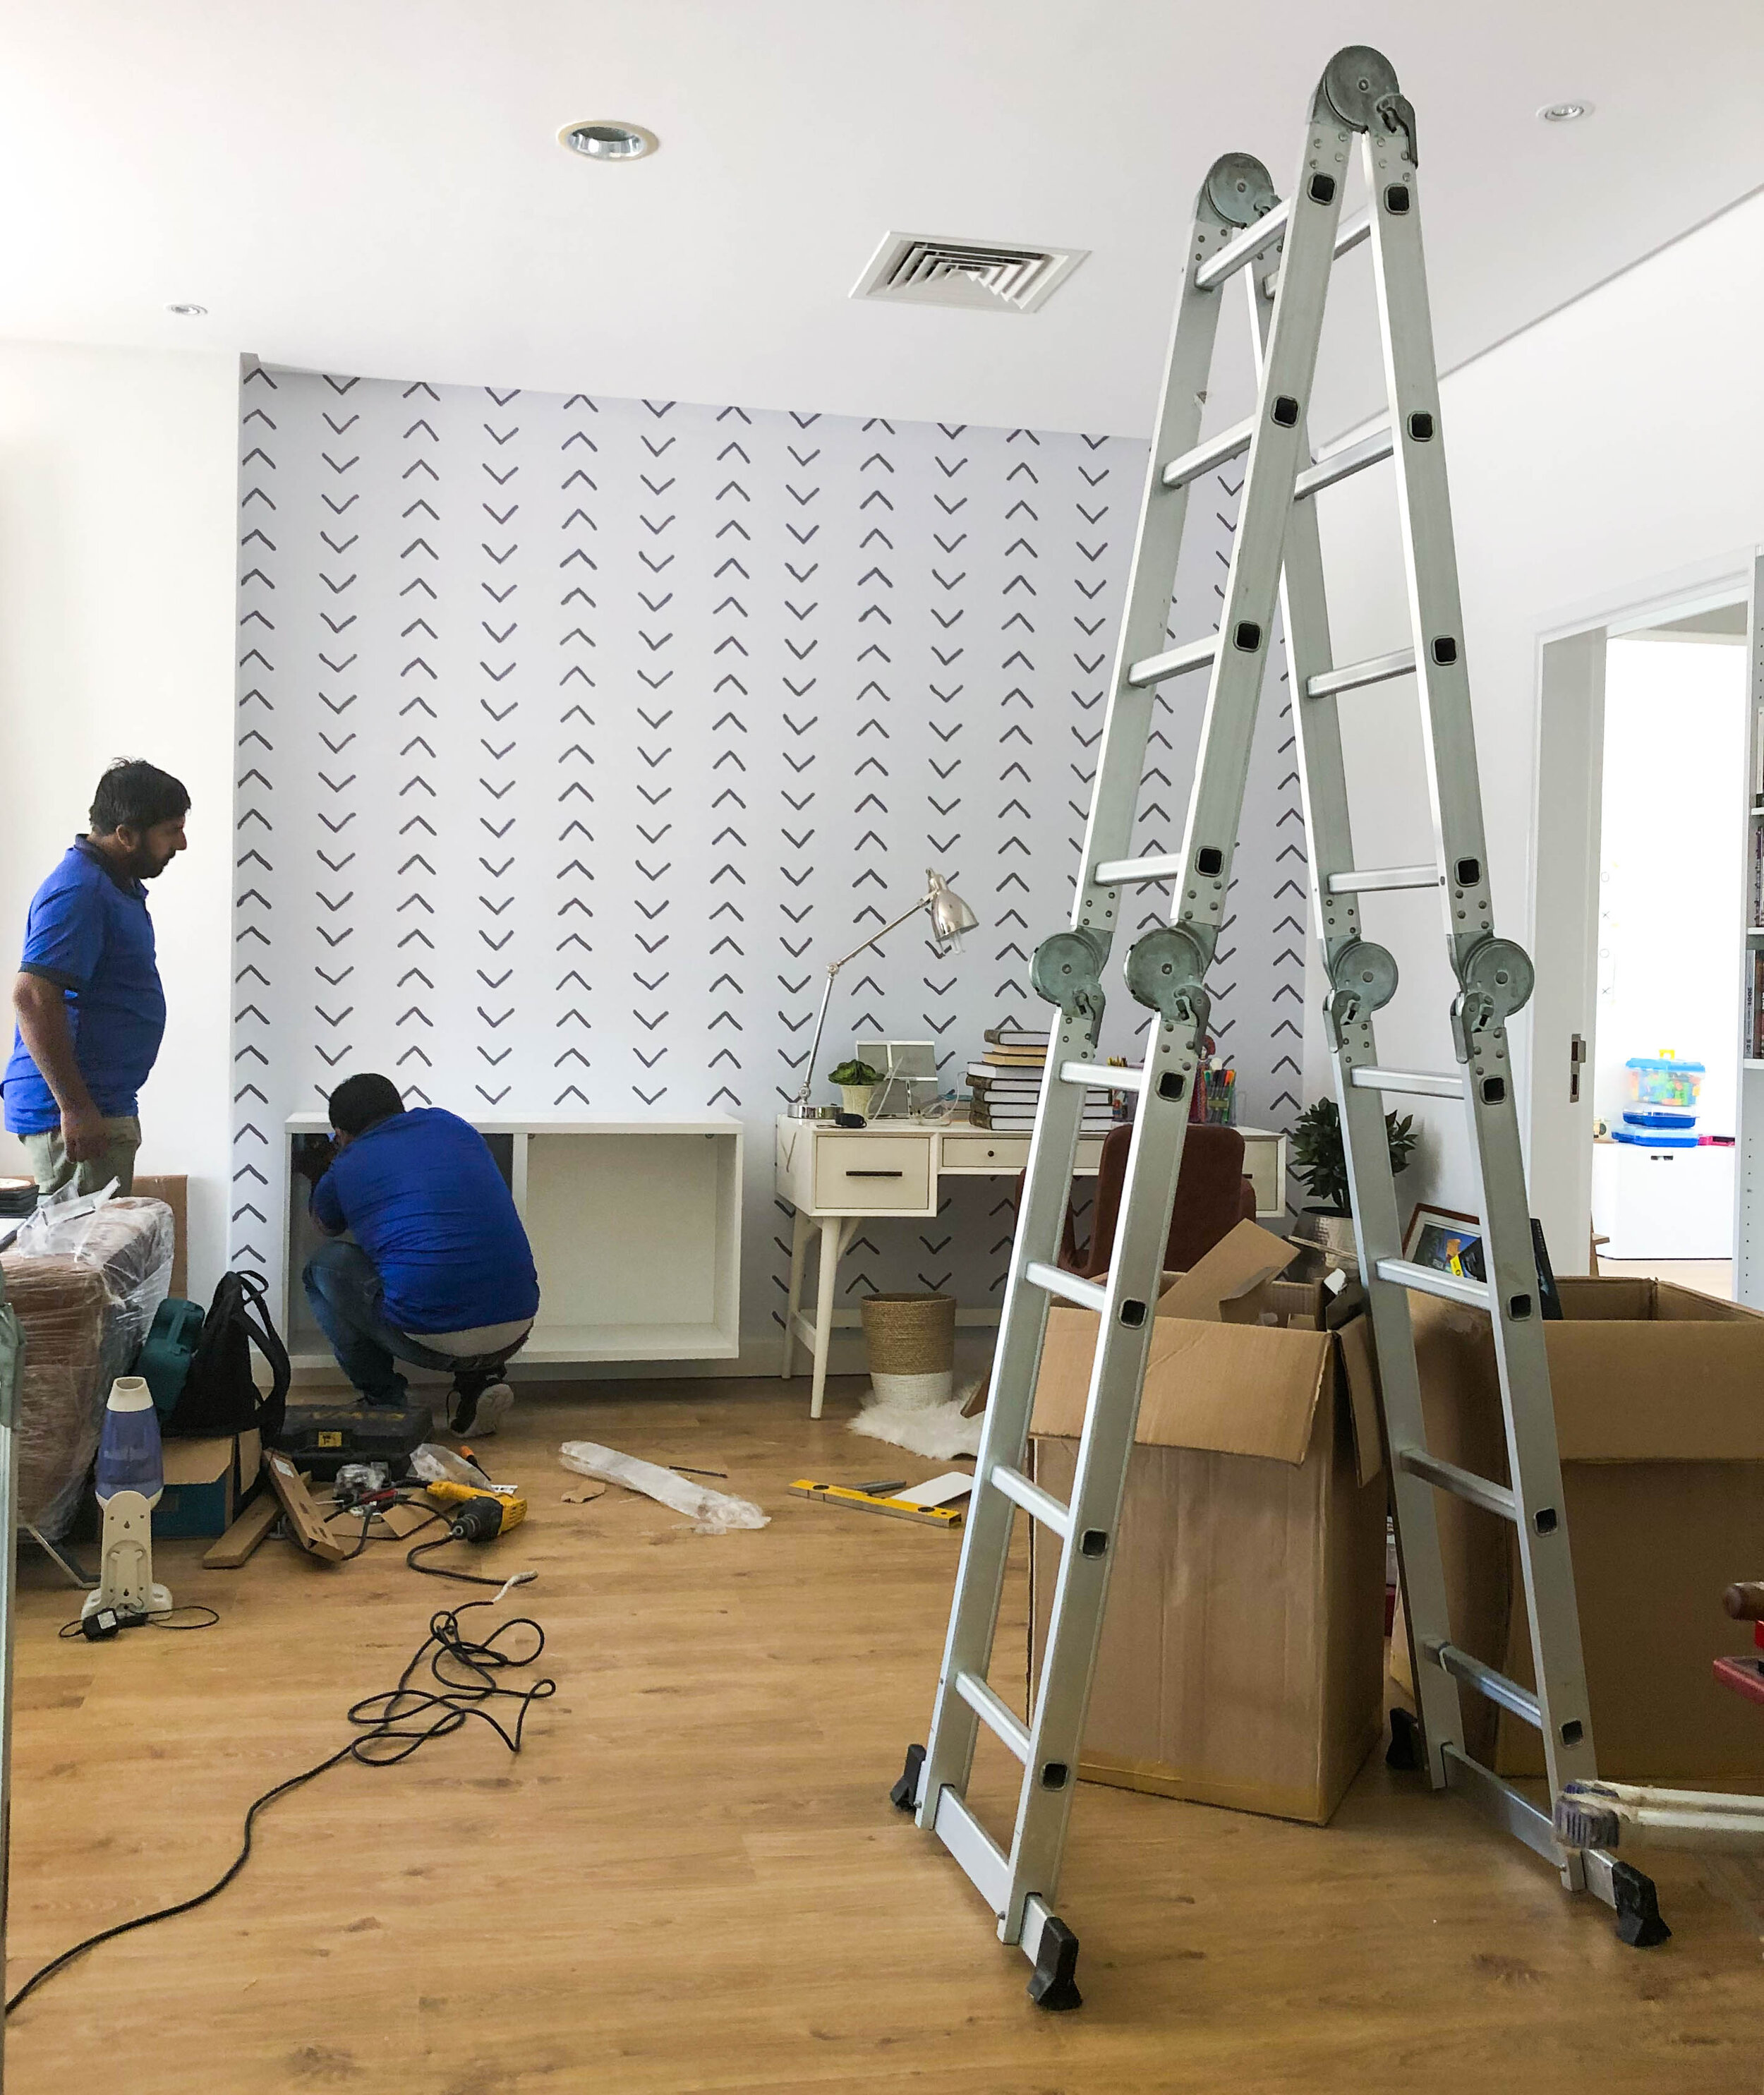
I knew exactly how I wanted my living area to look. With the help of Valentina, we were able to source the exact shade of brown for my existing L-shaped sofa and had it reupholstered. Added a few cushions, a throw, a carpet and a coffee table set to complete the look, with a gorgeous pouf that I fell in love with. We then got our old TV station set in the middle with the TV mounted on the wall. We had a bit of space left on either side of the TV station, so decided to get ladder shelves to fill that space and decorated them with the many books and trinkets I had.
I knew I wanted to add a little work station for myself as well, so had my desk placed in the same space as the living area. However my desk chair now didn’t match the rest of the room so had that reupholstered to a brown leather that matched the sofa color. To separate the two areas of the room, we put wallpaper along the wall where the desk is placed. Added sheer curtains on the windows, and there you have it. Room one done.
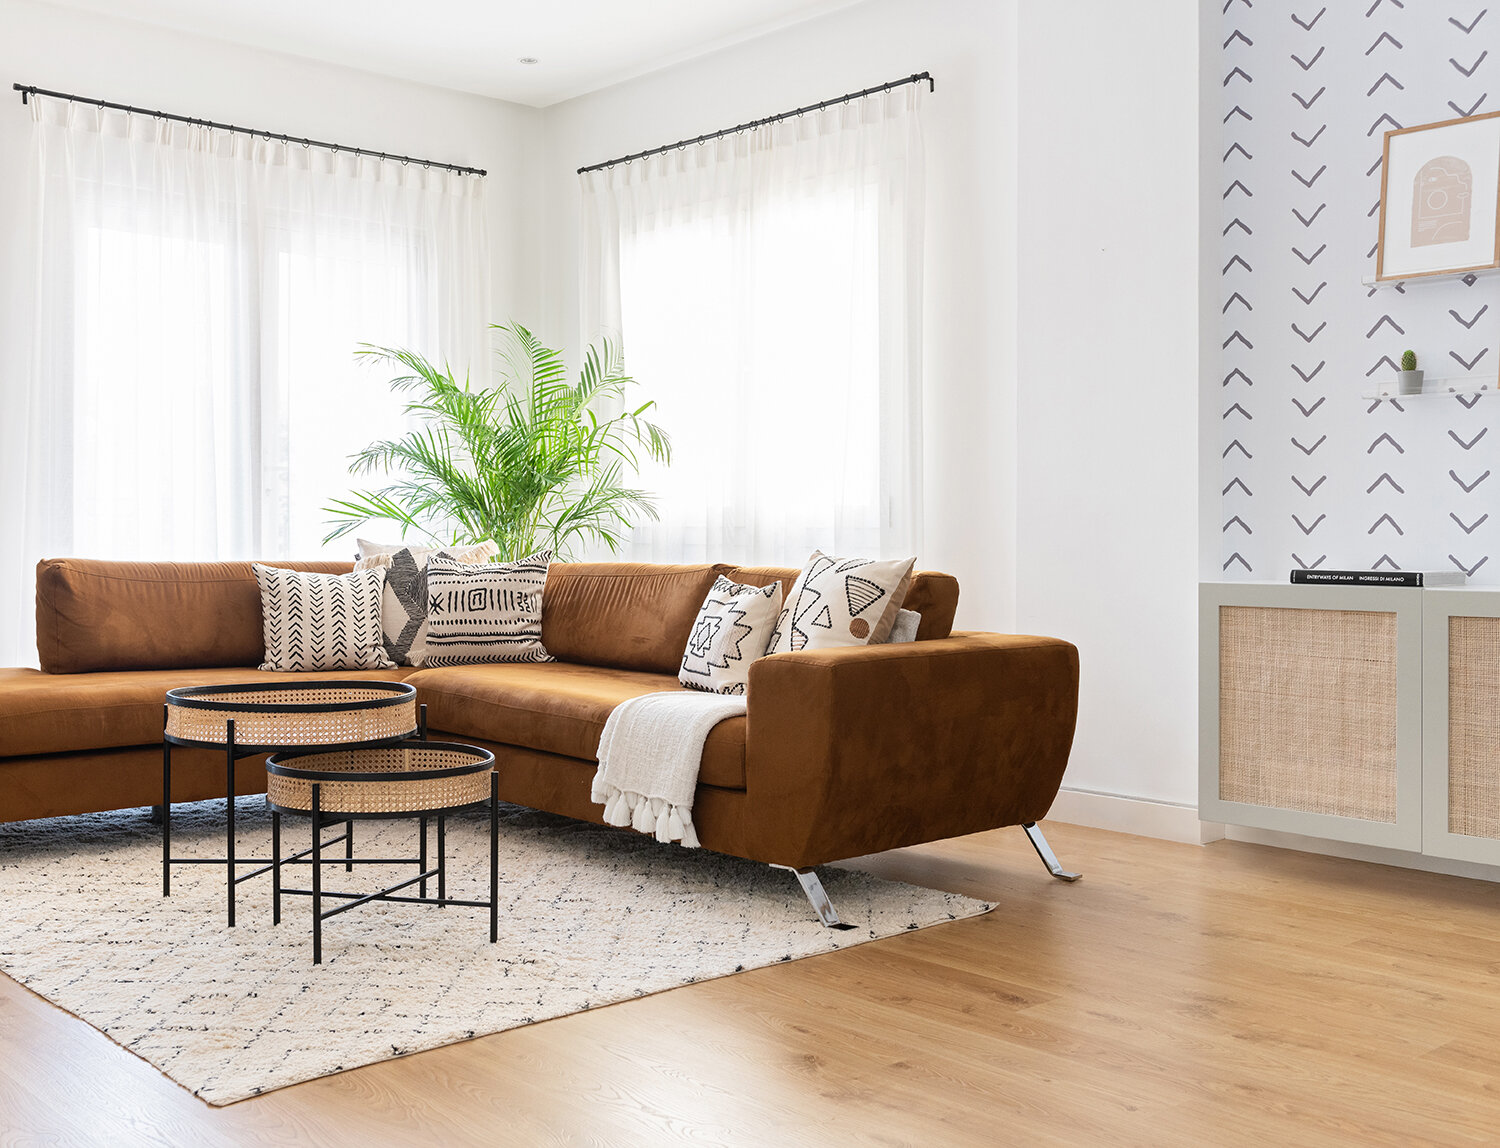
Photo by Natalee Cocks

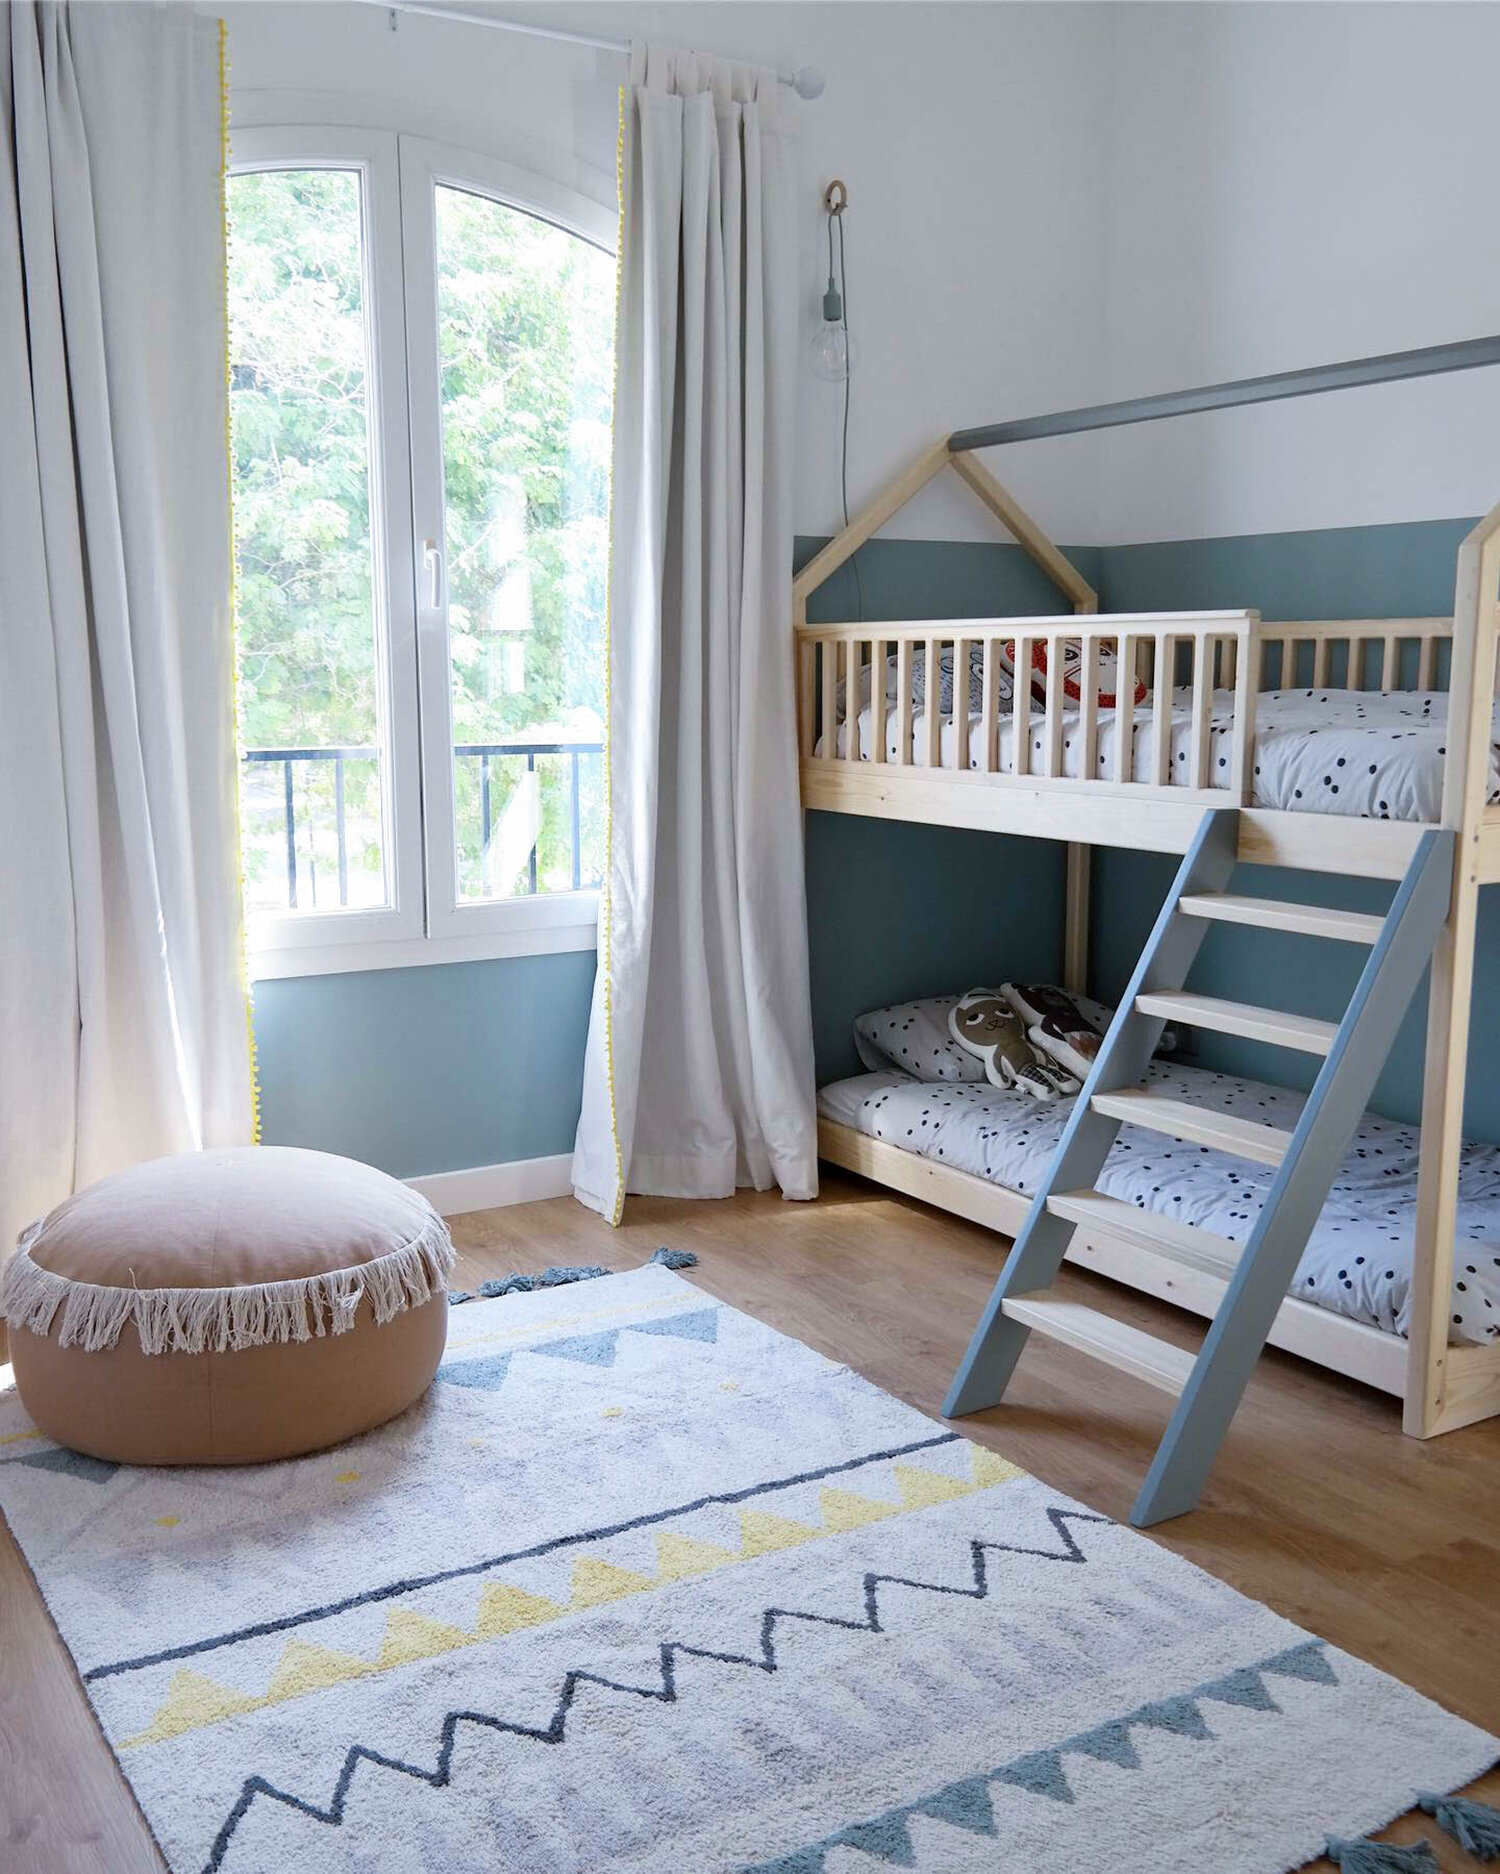
KIDS BEDROOM:
We had two rooms, but I always like the idea of the kids sharing a room for as long as possible, before they start to grow their separate ways. I also really wanted them to experience sleeping in a bunk bed! So that was my goal. Scandinavian themed bedroom with a bunk bed - and a slide! We didn’t have furniture to move from the old kids bedroom, since Layla, at the time, still slept in her crib and Hamza had this huge car-shaped bed that did not fit into the new space (or style). So started from scratch, but kept it affordable. Most bunk beds we found were either bulky, expensive, or boring. So Valentina came up with a plan - customize the bunk bed. I’m glad I listened to her, because it was for half the price you’d find at any furniture store, and her supplier did it in record time! The room is quite small, so all we needed to do add was a carpet, a chair, chandeliers, curtains and it was ready. The highlight though, was the wallpaper we chose for this room. It was a risk, but it paid off and turned the room into a beautiful Scandinavian jungle, giving it so much life and so much character. We painted half the wall a blue/teal color to match, and the kids’ bedroom looked incredible!


PLAYROOM:
So what to do with the other room? We turned it into a playroom! I used all the furniture I had from the old kids’ bedroom for the playroom. Their old dresser, toy drawers and I mounted my wooden magazine shelves in the playroom to display some of their books, we also mounted this huge yellow shelf we used to have in our old TV room. Added wallpaper, a kiddie desk and kiddie chairs, chandeliers, displayed some of their stuffed animals, and my favorite part, was a super cute curtain separation. It separates the dressing room from the rest of the playroom in such a subtle and elegant manner.

Photo by Natalee Cocks


MASTER BEDROOM:
Now the master bedroom was straightforward. The bed stayed as is, but we changed the cushion slips to match the color scheme. We added a rug, matching side tables and dresser, chandeliers, reading lights and a ladder shelf to fill up the space next to the dresser. I kept the shoe cabinet I had, but added the cutest leather handles to them to give it character. I also placed the same arm chair I had back in Abu Dhabi, which used to be a bright orange red, and reupholstered it into a dusty pale pink that looked stunning with the rest of the room. With some natural plants to breath life into the room, and there you have it.

Photo by Natalee Cocks

Photo by Natalee Cocks

Photo by Natalee Cocks
Now that the upstairs was complete. Let’s move downstairs:
ENTRANCE HALL:
Valentina had the genius idea of using the table we had in my old kitchen, paint it white, add a leather handle to the drawer and place it at the entrance hall as a console. It turned out perfect! Added some monochromatic vases, an artificial plant, a mirror and a runner and the entrance hall was ready to take you into the staircase hall.

Photo by Natalee Cocks

Photo by Natalee Cocks
STAIRCASE HALL:
We lined our staircase with our family pictures, and at the bottom corner, we placed the old TV room coffee tables, with some greenery and vases we had. Then directly below the staircase, we used the ottoman we had, but reupholstered it from yellow to a soft light beige. It filled that space beautifully.

Photo by Natalee Cocks
MAIN LIVING HALL:
For this room, I decided to keep the same seating set, same sofas and arm chairs. We reupholstered the armchairs from a turquoise color to a very soft blue color, we added a few more cushions to match the new color scheme. We painted our old shelves and TV station white, mounted the TV, and added old and new accessories that matched the theme. I was going for a bit of a beach house Scandinavian vibe for the downstairs, and I feel like it worked. It was a bit tough with the furniture and accessories we already had, but we made it work. We added my childhood piano against the wall, with our old glass side tables on either side, and our turquoise planter.

Photo by Natalee Cocks

Photo by Natalee Cocks
DINING ROOM:
For the dining room, we used the same dining table and chairs set. We reupholstered the chairs because the old fabric was really stained from years of use. Added our old buffet table against the wall, which has all our tableware and silverware. We then had a little crook in there, that to me, didn’t make any sense, but to Valentina was a wonderful opportunity to get creative! With her recommendation, we painted the interior of that crook black, and inserted floating shelves in it, then accessorized it wonderfully, bringing the whole area to life. We also opted to leave the dining area curtain-less, as the light coming in is stunning.


Photo by Natalee Cocks

Photo by Natalee Cocks
STUDY/GUEST ROOM:
Finally, my favorite room, and also the most challenging. I knew from day one that I wanted to have my own study. A room filled with books floor to ceiling, but I also knew practically, we would need a guest room, somewhere a family member or friend would be able to spend the night when visiting. So how do you transform this room into both of these things without compromising one or the other?
First things first, the books. We built floor to ceiling shelves, but left a little gap in the middle to fit a desk, like a work station. On the opposite side, we placed our old dresser as storage for the guests when they come over. Next to it, we knew we were going to place a sofa bed, but where do you find a comfortable, but nice looking sofa bed that won’t destroy the whole look of the room? Valentina to the rescue again, somehow, someway, she was able to find the perfect Scandinavian looking bed from IKEA, that once covered with cushions and pillows, looked like a couch! It was perfect! We then placed an old quirky white shelf we had over the sofa bed, added an old rug, which was the perfect shade and gave it a beautiful Beauty and the Beast feel to it. In fact, when describing my vision of this room to Valentina, the words I used were “a Scandinavian Beauty and the Beast library”. However, to fully achieve that, there was one thing missing - a shelf ladder. Buying one will cost an arm and a leg! In fact, we almost gave up. But then, I remembered the bunk bed situation, and went to Valentina with the idea of building the ladder for the bookshelves! It worked.

Photo by Natalee Cocks
It was a long, but short journey, if that makes sense. We did so much, in a short amount of time. I have Valentina to thank, I couldn’t have done it this quickly or this affordably by myself. Many of the new pieces we ended up purchasing for the house were bought at such affordable prices, we used 80% of our old furniture, but had to buy a lot of new ones because well, we moved from a small 3 bedroom apartment to a 4-bedroom villa. The furniture we didn’t use, we either sold or gave away or called Take My Junk UAE.
Of course, there’s also the kitchen, but the kitchen is a story on its own. We literally tore down the whole kitchen and built a new one. If you enjoyed this insanely long post and are interested to hear the kitchen story, then I’m happy to tell it and show it with images.
Until then, there you have it. Our home. At last.